
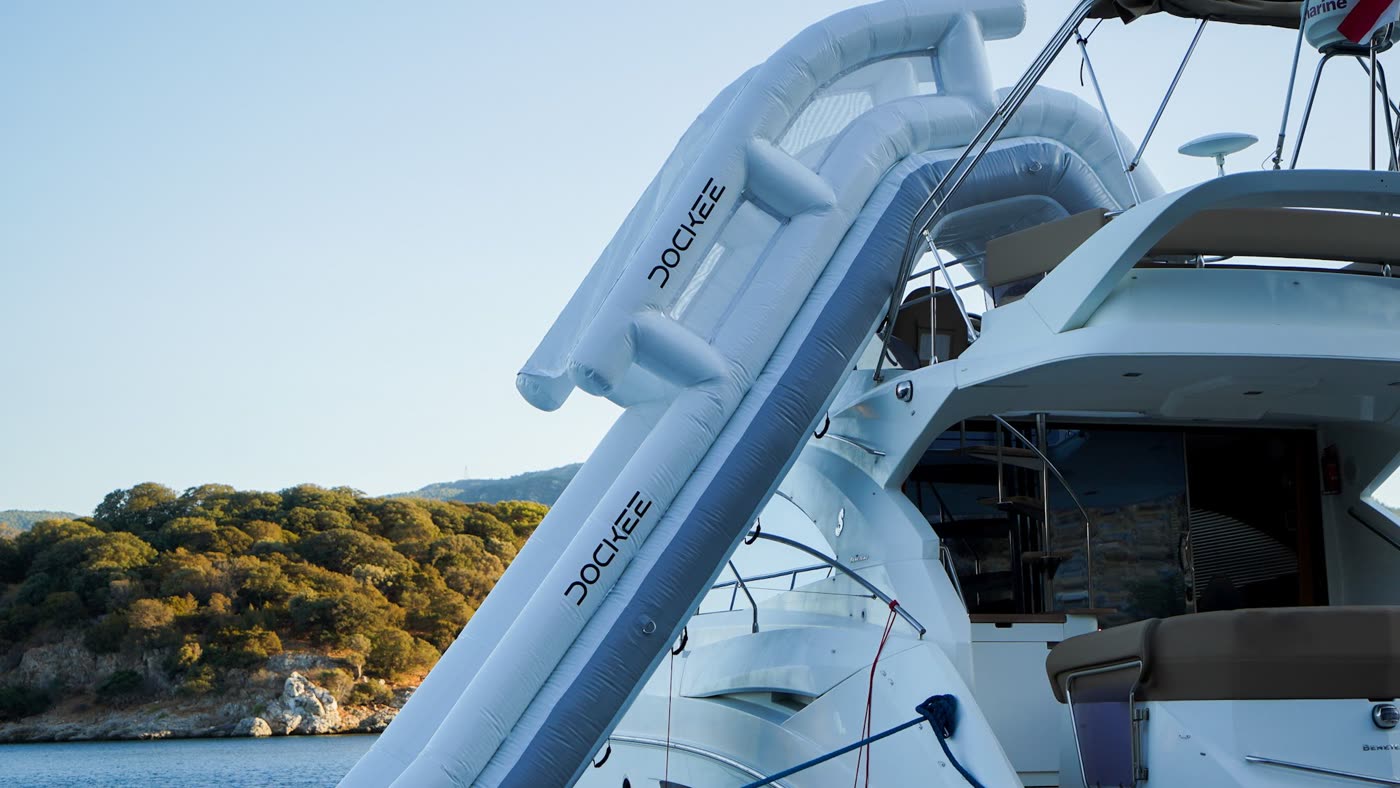

As the autumn cruising season winds down, deckhands turn their attention to preparing the yacht's inventory for winter stowage. Proper drop stitch valve maintenance is a quiet but vital part of this routine. When a floating platform or toy dock spends weeks in salt water, marine deposits can find their way into the high-pressure fittings. If you pack an inflatable away without servicing the valves, residual salt can crystallise over the winter, leading to stuck spring mechanisms and slow leaks next spring.
Here is a practical routine for flushing and securing your valves before folding the inflatables for the garage:
- Move the inflatable product to a clean, flat deck area that is free of sharp objects.
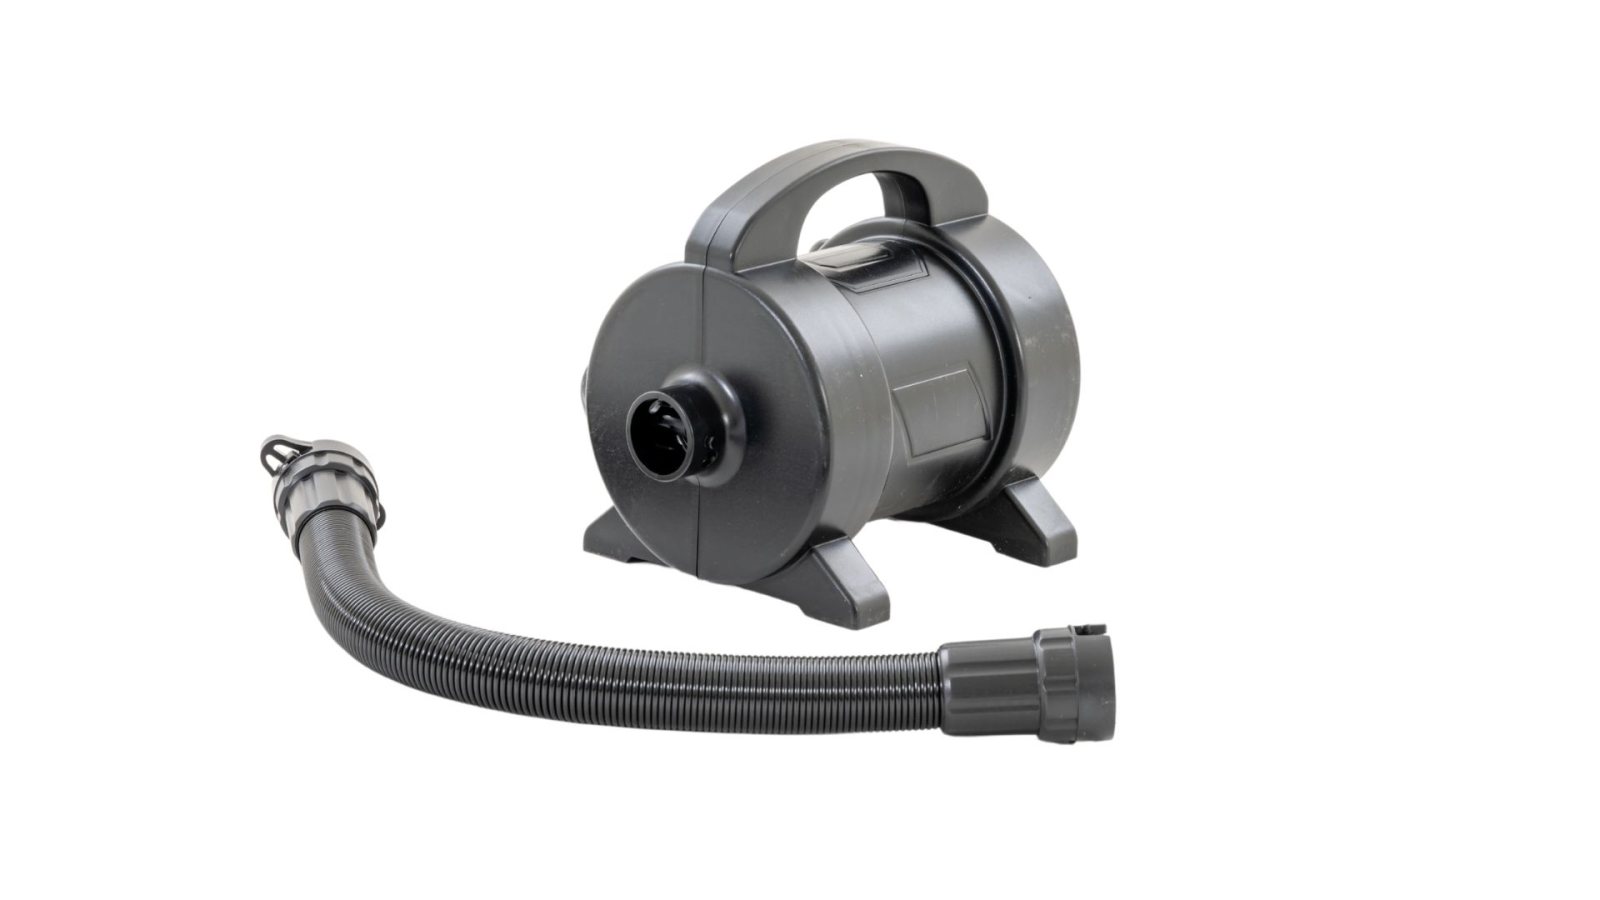
- Deflate the item entirely using the deflation port of your electric pump.
- Inspect the open valve housing with a torch to spot any sand, grit or dried salt crusts around the rubber seal.
- Rinse the open valve gently with a low-pressure stream of fresh water to dissolve marine deposits.
- Press the central spring pin up and down a few times while rinsing to dislodge salt from the internal spring mechanism.
- Use a clean, lint-free cloth to absorb excess water from the housing and leave the valve open in a dry, ventilated space.
- Once completely dry, close the push-pin mechanism and secure the dust cap firmly before rolling the product.
Preparing the deck for servicing
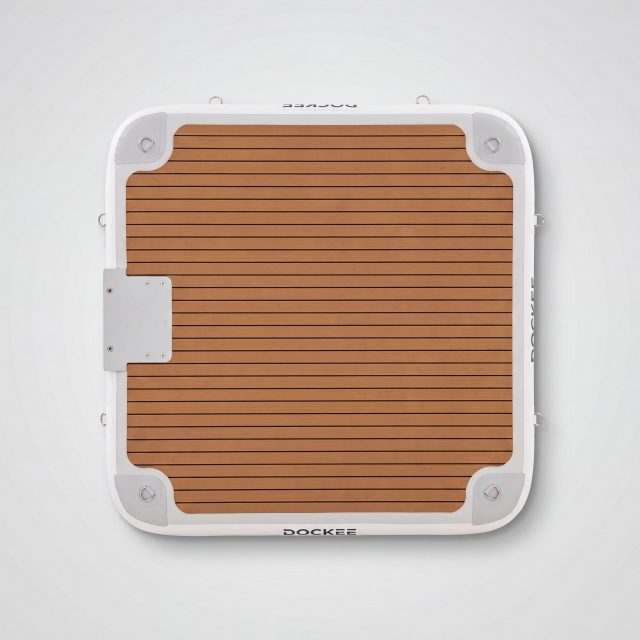
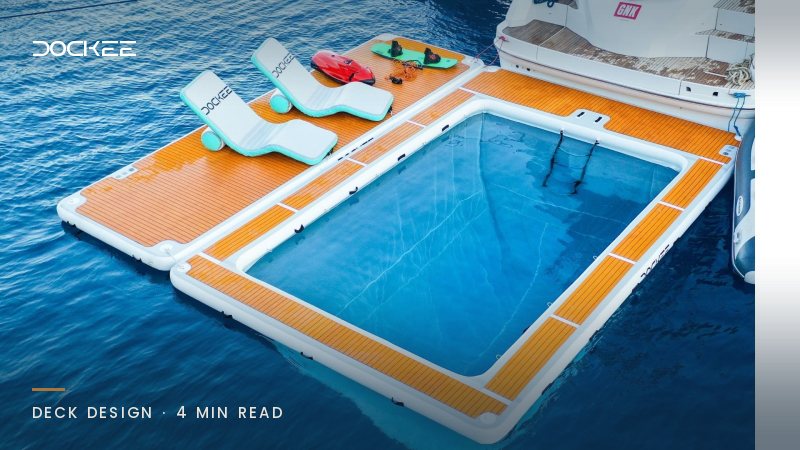
Before you begin flushing the fittings, you need a clear workspace on the aft deck or the quay. Lay out your Premium Teak Platform 2.05 m or your jet ski dock flat. Ensure the top surface, which features a teak-look surface that requires no oiling or sanding, is clean and rinsed of surface salt. The material is a teak look only, not real wood, which simplifies the washdown process.
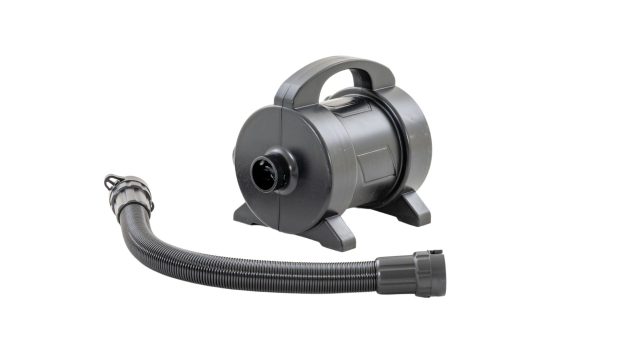
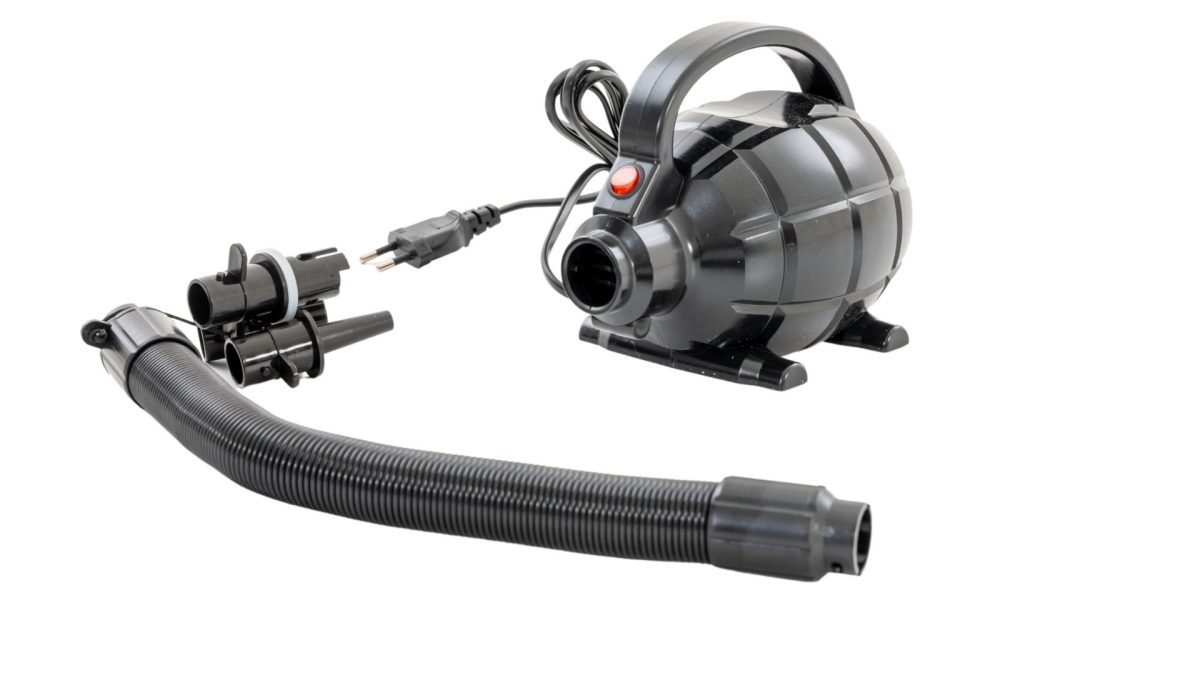
You will need to remove all the air to service the internal components safely. An electric inflator like the Air Pump 1200W makes this efficient when connected to the deflation port. Once the drop-stitch fabric is flat, the internal threads relax, and there is no longer any back pressure on the valve. This makes it safe to depress the central pin and examine the rubber seals without air rushing out. Always check the pressure stated in the product instructions when you reinflate, but for now, your goal is a completely flat profile.
The mechanics of the valve spring
The valves on your inflatable water products use a push-push mechanism. You press the central pin once to open the airflow for deflation, and press it again so it pops up, closing the seal to hold pressure. Because the drop-stitch fabric and reinforced PVC body can hold significant pressure, this small spring works hard. Over a busy Mediterranean or Caribbean charter season, splashed seawater inevitably evaporates inside the open housing during inflation and deflation cycles.
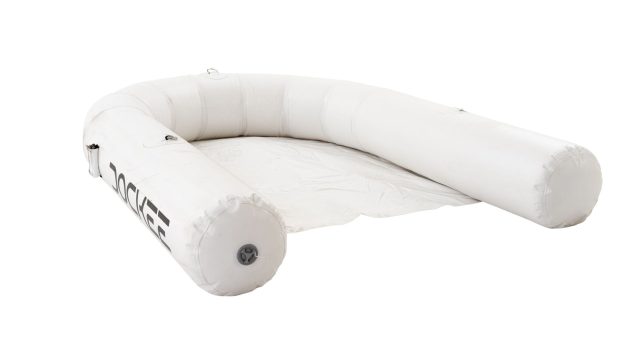
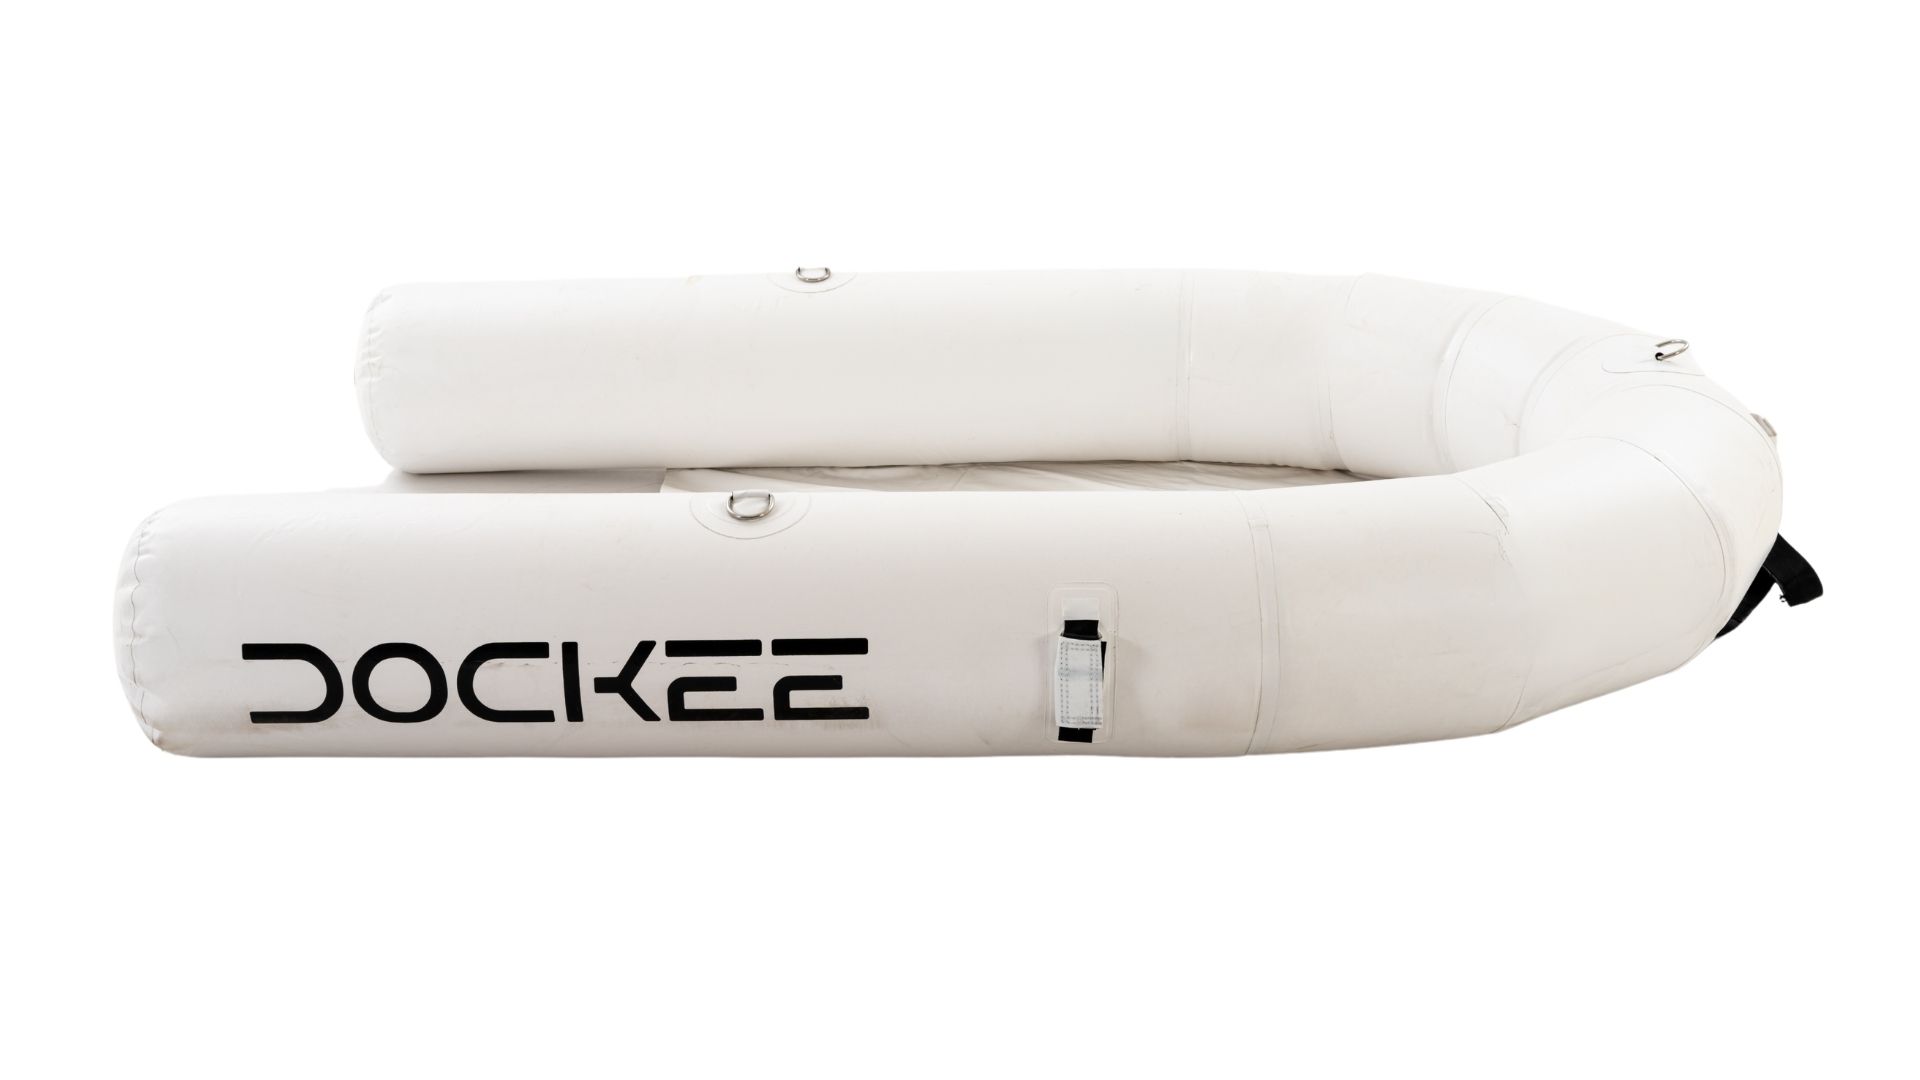
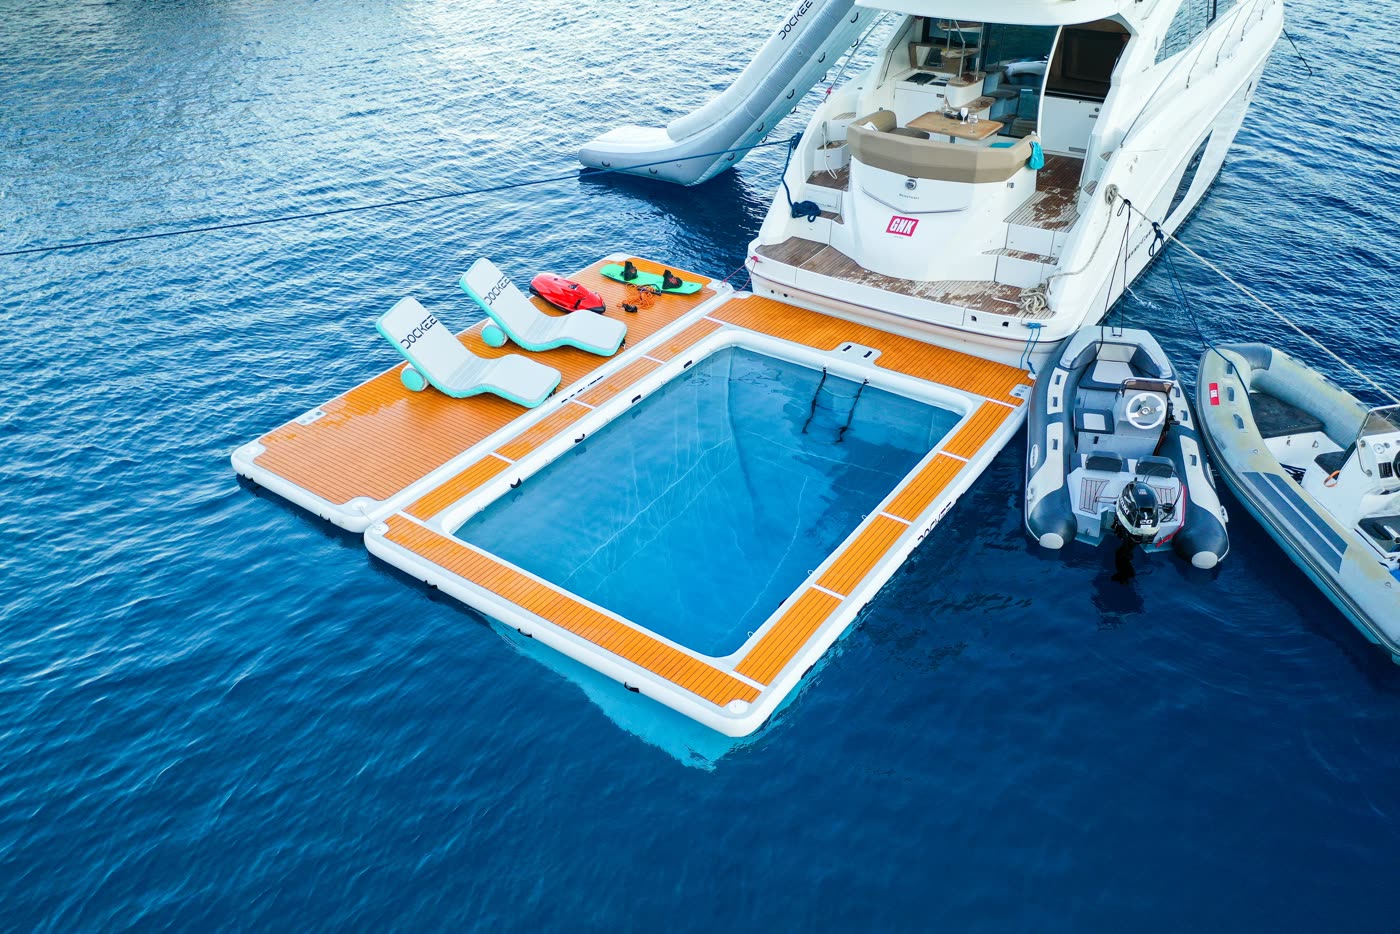
If salt crystals build up around the pin, the spring loses its smooth action. When you try to inflate a C-Dock for Jet Ski & Seabob next season, a sticky valve might not pop back up to seal the chamber when you disconnect the hose. A gentle freshwater flush dissolves these crystals. Actuating the pin while you run fresh water over it ensures the hidden coils of the spring are cleared of any corrosive residue.
Inspecting seals and securing caps
While you are performing your freshwater flush, it is sensible to inspect the rubber seals that line the valve housing. These seals ensure an airtight fit between the internal drop-stitch chamber and the external environment. Run a clean finger around the rubber gasket to check for invisible grit or sand that the water did not wash away. Even a single grain of sand sitting on the seal can cause a frustrating, slow leak that softens the platform overnight.
The dust cap itself also houses a small rubber O-ring. Check that this ring is seated correctly and has not cracked after months in the sun. The cap is your primary defence against debris entering the mechanism while the product sits in the tender garage. If you are servicing several items, taking an extra moment to wipe the cap threads clean ensures a smooth, airtight closure.
Drying and final winter preparations
Flushing the valves introduces moisture to the internal housing, which must be managed before storage. Trapped water inside a tightly rolled platform can cause mildew over the winter months. After the freshwater rinse, leave the valve open and allow it to air-dry thoroughly. You can speed up the process by using a soft cloth to wick moisture away from the threads and the rubber gasket.

Once you are certain the valve area is completely dry, press the pin so it sits in the closed, popped-up position. Screw the protective cap on tightly to keep dust and garage debris out of the mechanism. The product is now ready to be folded or rolled. Store your inflatables in a dry environment out of prolonged direct sunlight. Should you notice any manufacturing defects in the materials during your inspection, note that Dockee provides a two-year warranty from delivery, detailed in our warranties policy. If you follow this simple routine, your equipment will unroll next spring exactly the way you left it, ready for another season in calm, sheltered water. When you do deploy them again, remember to keep engines and thrusters off while anyone is in the water, and always supervise swimmers.