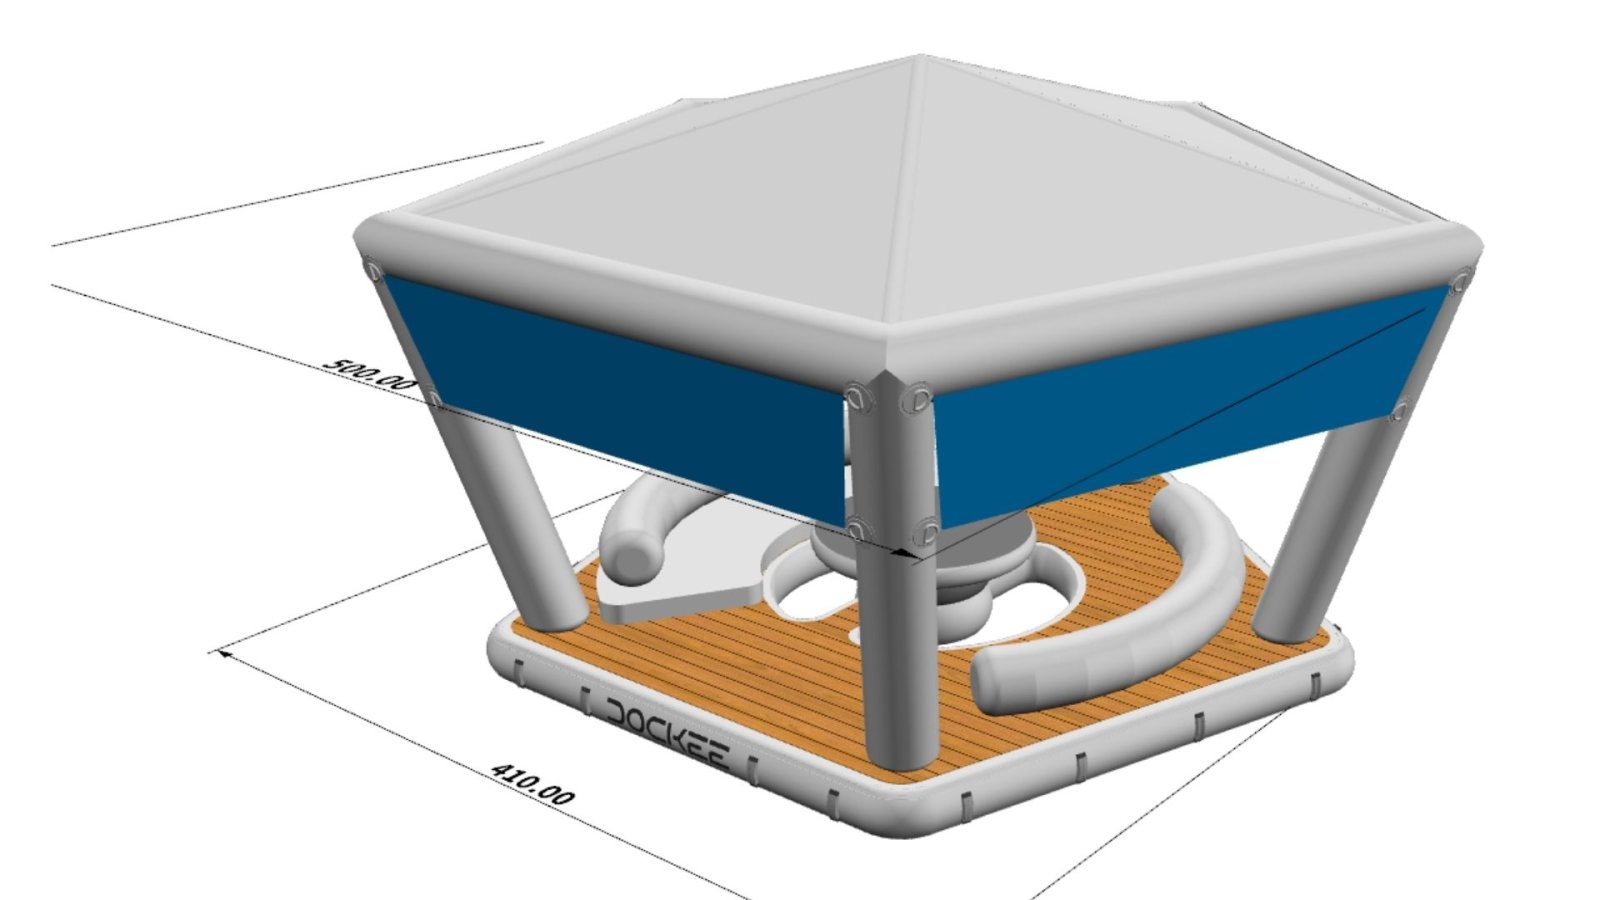
A good Prestige Lounge layout starts with where the lounge sits, not with the cushions. Get its position right relative to the stern, the wind and the tender route, and the rest of the afternoon arranges itself. Get it wrong and the crew spends the day shuffling furniture and fending off the tender. The setup order comes first, then the three arrangements that work best.
- Choose the spot first. Calm, sheltered water, clear of the tender's approach to the swim platform and well away from propellers.
- Unpack the base on a clean surface. Lay it out with nothing sharp underneath and check that the valve is closed for inflation.
- Inflate to the stated pressure. Use the larger 1200 W pump and stop at the pressure given in the product instructions, checked with a gauge.
- Launch and tie off. Use strong, suitable fixing points on the yacht and keep every line clear of the propellers.
- Decide on the tent. Fit it if the afternoon calls for shade and the water is settled; leave it in its bag if the breeze is building.
- Join any platform you are adding. Do this before anyone carries furniture across.
- Place the seating last. Seats, a low table and backrests go on once the layout is fixed, heaviest pieces towards the middle.
What arrives in the two bags
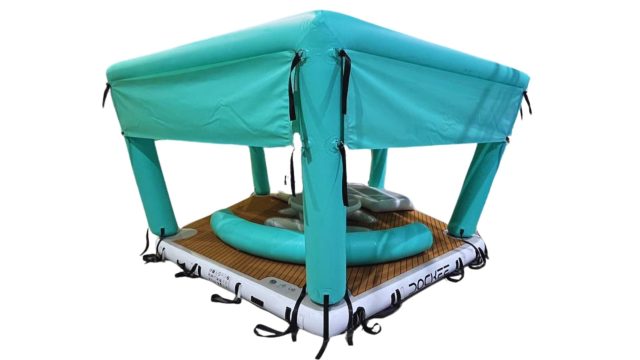
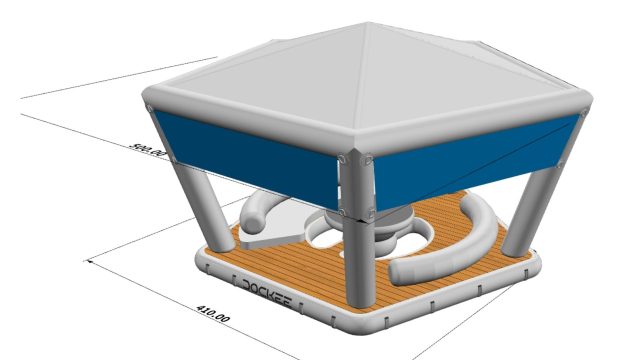
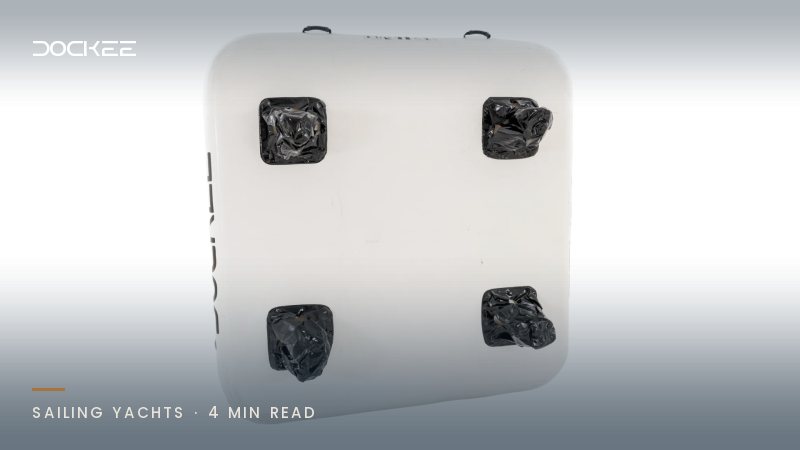
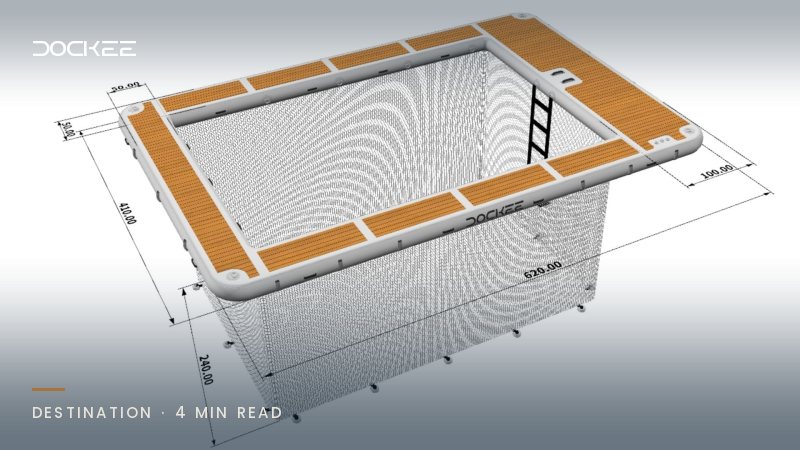
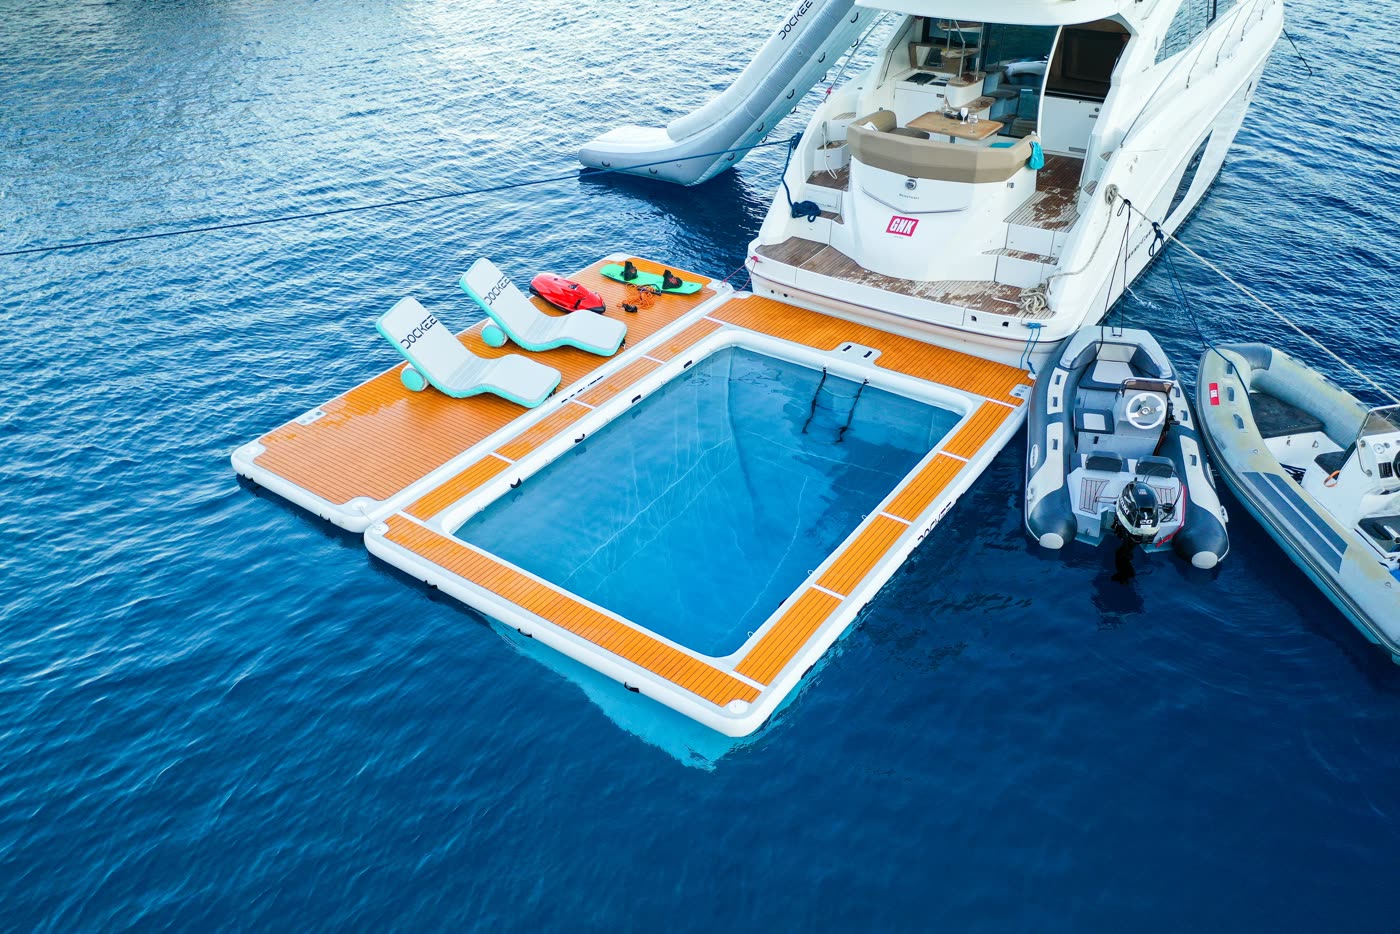
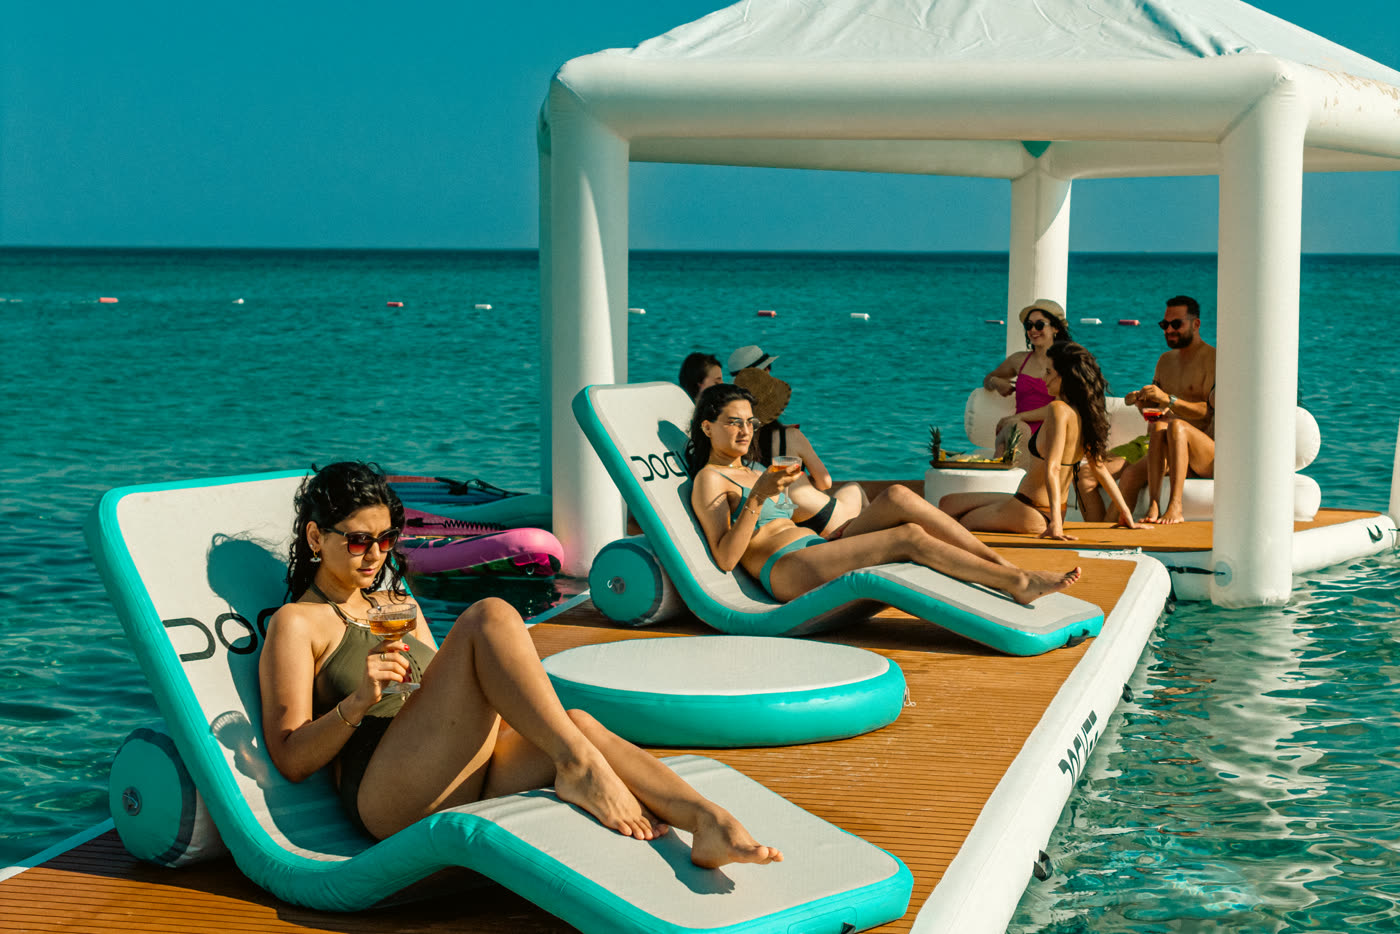
The Prestige Lounge comes in two bags: one for the inflatable base and one for the optional tent and its structure. The base measures 410 x 355 cm, with drop-stitch construction and 0.9 mm PVC, so it inflates flat and firm rather than soft and rounded. The top can be finished with a teak-look surface, and the lounge is designed to take seats, centre tables and backrests on top of it. Both bags are heavy enough that unpacking is a crew job, so plan who carries them and where they are opened before the guests are up.
Setting the base and the tent
Once the base is inflated and floating, check it again after an hour or so in the sun, because air expands as it warms. The tent is what turns the lounge from a deck into a room. It gives proper shade in the middle of the day and a sense of enclosure in the evening, but it also catches wind, so it belongs on calm, settled days. If the forecast is marginal, run the lounge open and put up shade on the yacht instead. The inflation and setup guide covers the pump and pressure routine in full.
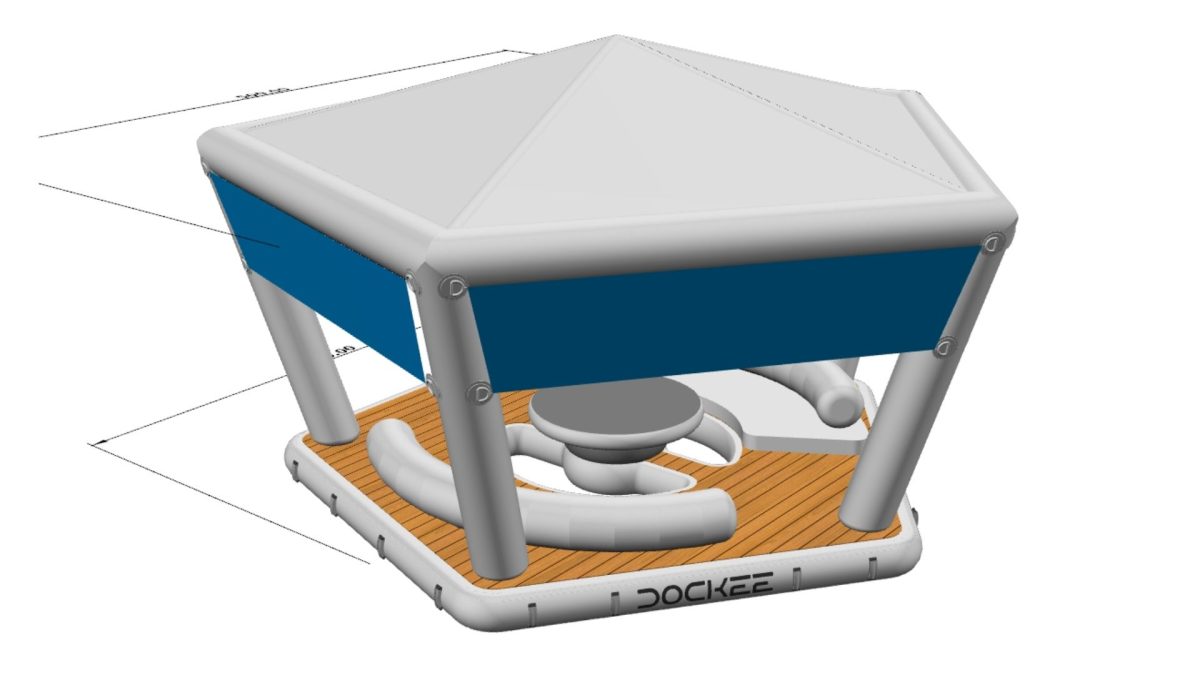
Three layouts that work
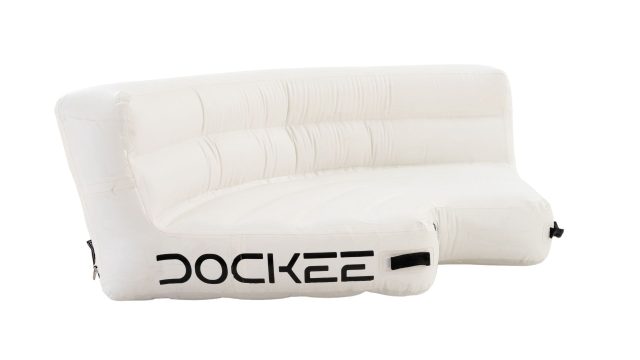
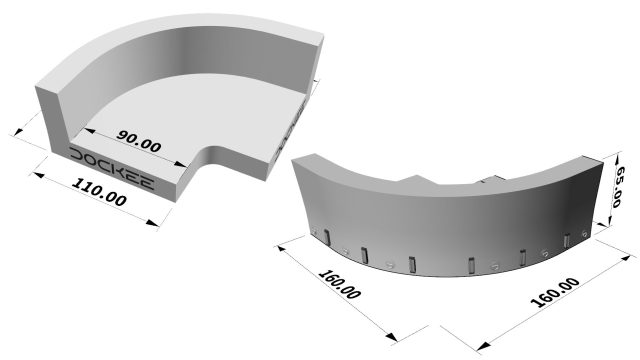
The open terrace. No tent, seating along the side facing the view and a clear stretch of deck along the side facing the yacht for people coming and going. This suits mornings, when guests swim from the lounge and want the sun. A curved Relax Corner, 160 x 65 cm, at the seaward end gives a natural place to sit with feet in the water.
The shaded lounge. Tent up, seats and a low table inside, backrests on the side the breeze comes from. This is the long-lunch arrangement, and it works best a little further from the stern so that conversation is not competing with the yacht's generator.
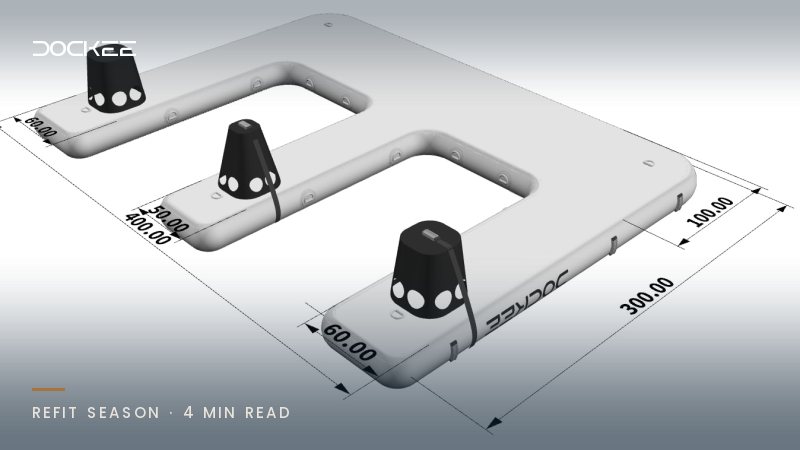
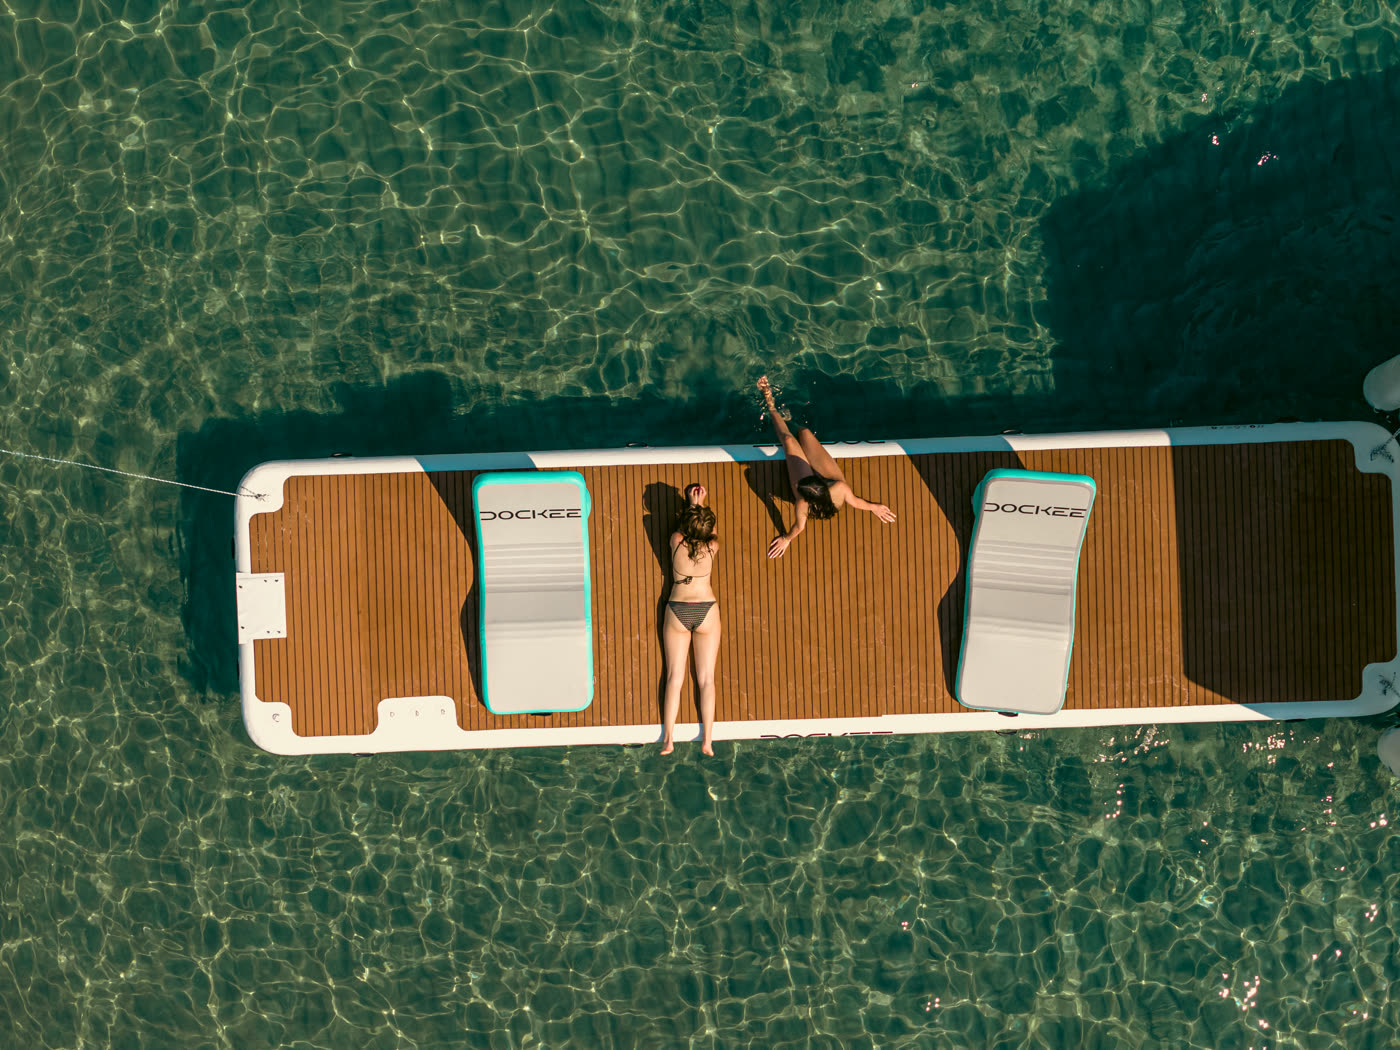
Lounge and platform. Join a Premium Teak Platform 4.10 m to one side with an AirLink Tube: place the units side by side, inflate the tube until it is rigid, slide it into the connection loops and fasten the integrated straps. The platform becomes the swimming and sunbathing deck, with wet towels and fins kept there, and the lounge stays dry and social. More options are in the lounge collection.
Keeping the tender lane clear
The tender needs a clear, predictable way in to the swim platform, and the lounge should never sit across it. Agree the lane with the deck crew before anything is launched, and keep lines and floating pieces to one side. Engines and thrusters stay off whenever anyone is in the water near the stern, and swimmers, especially children, are always watched.
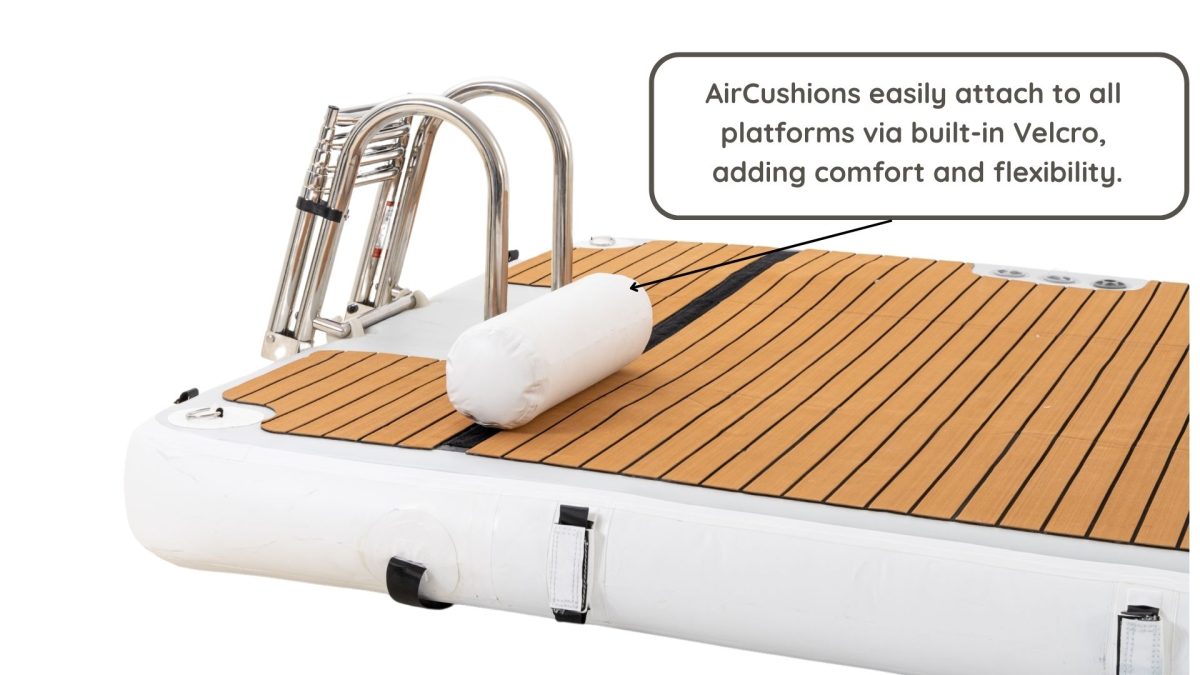
Agree the service route too. Someone has to bring drinks and plates down from the deck, and it should be clear who does it and how. Unbreakable cups and plates on the water, glass kept aboard. A small detail, but it is the difference between a relaxed afternoon and a crew member picking shards out of the drop-stitch.